Esprit of 250GTO-19
AK
God Dwells in Small Things

A progress report on the Ferrari 250SWB. I actually started working on it bit by bit last year and have been sharing several images on X.
GT40と同時に制作中の250SWBの作業記録です。じつは昨年の5月からちょこちょこと手をつけていて、SNSのほうに画像も上げていました。
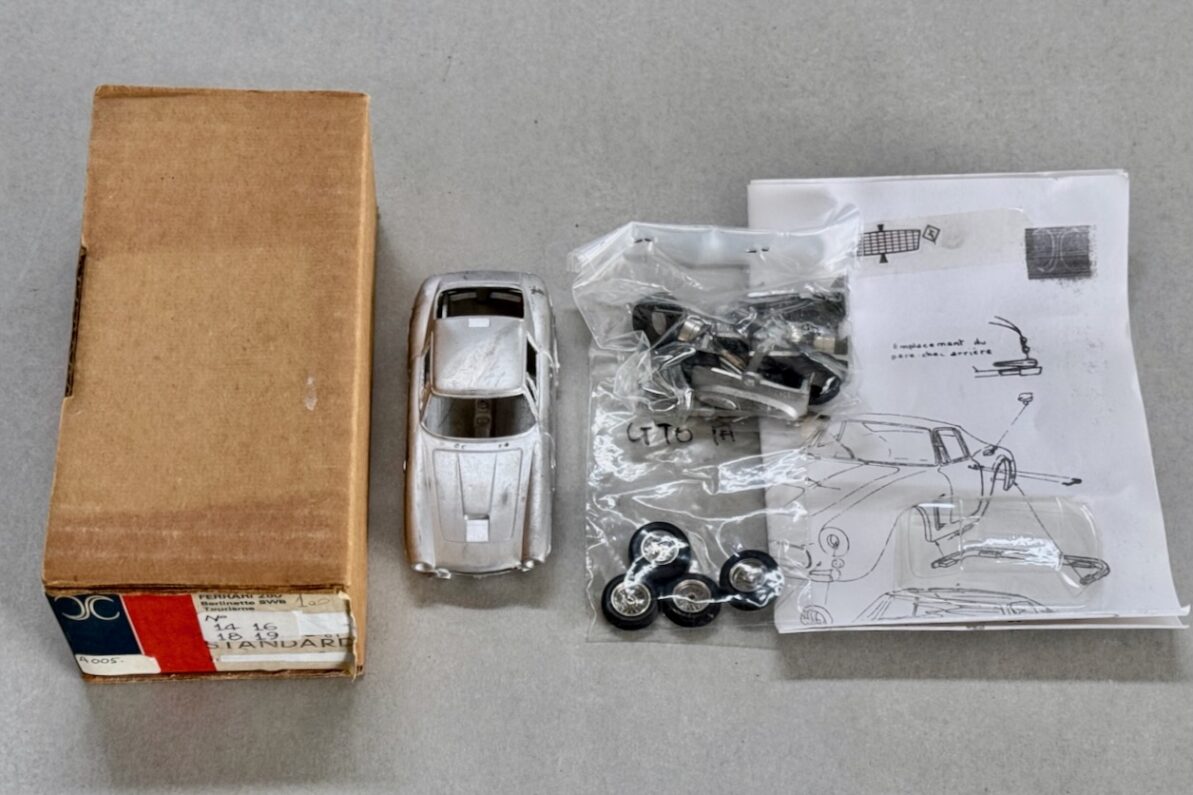
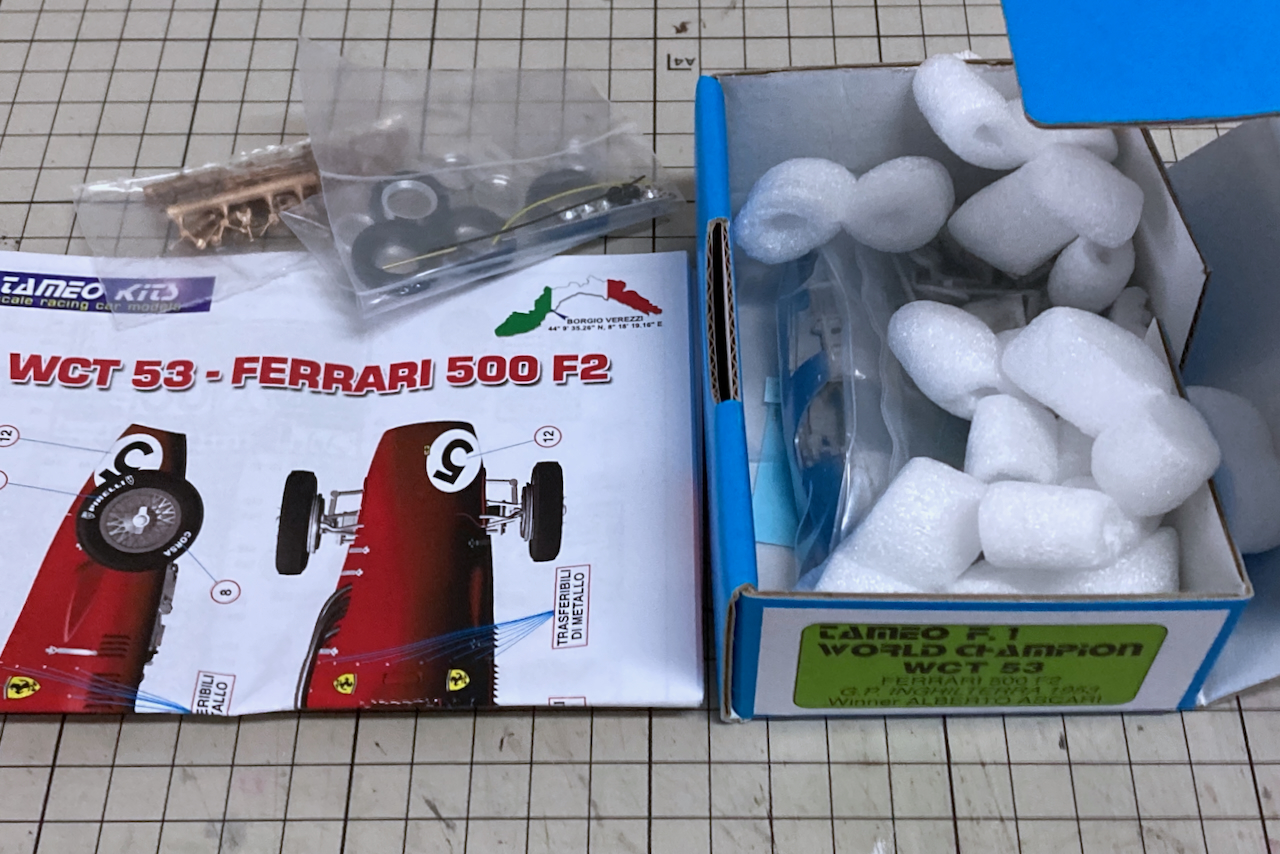
The kit is an AMR “brown box”, from the era before they switched to the flat “lunchbox” packaging. I guess the body proportions and parts construction are almost same to the later version.
キットはAMRの茶箱、まだ「お弁当箱」と呼ばれる平たいパッケージに変わる以前のもので、ボディのプロポーションやパーツ構成は「お弁当箱」と大差ないと思います。
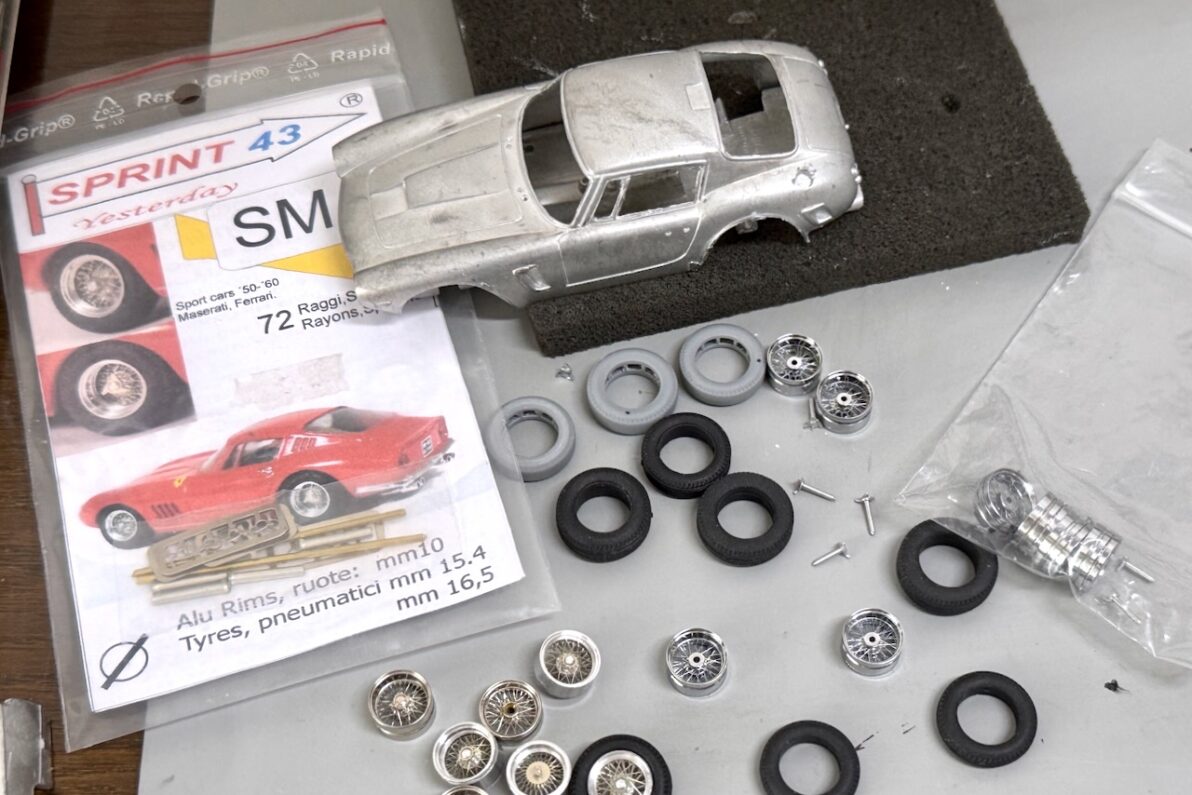
I think it can be diverted to these tires which I made for the 375MM at first, but realized that they are historically distinct. The aftermarket parts were also unsatisfactory, so I decided to make a new one with FUSION & SLA 3D Printer.
タイヤは375MM用に作ったものが使えるか?と思いましたが、年代的には別物であることが分かり、市販品も今ひとつだったので新規に作成します。
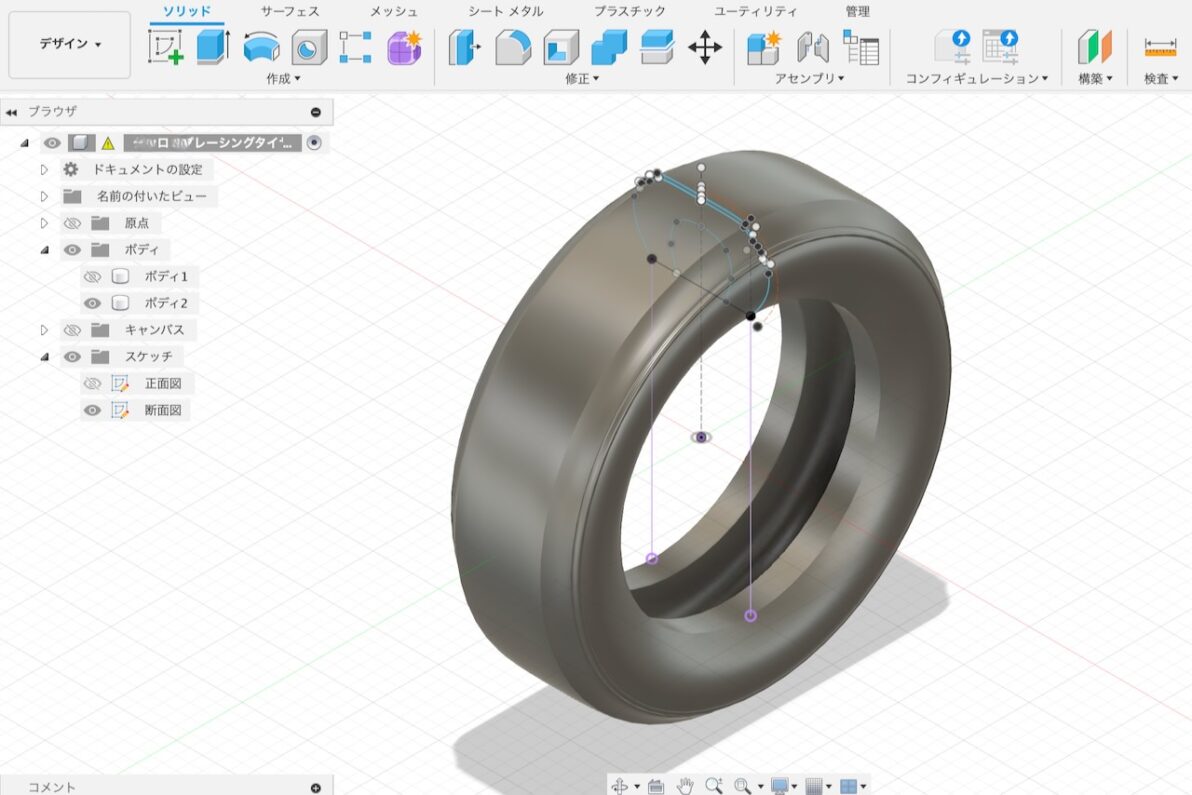
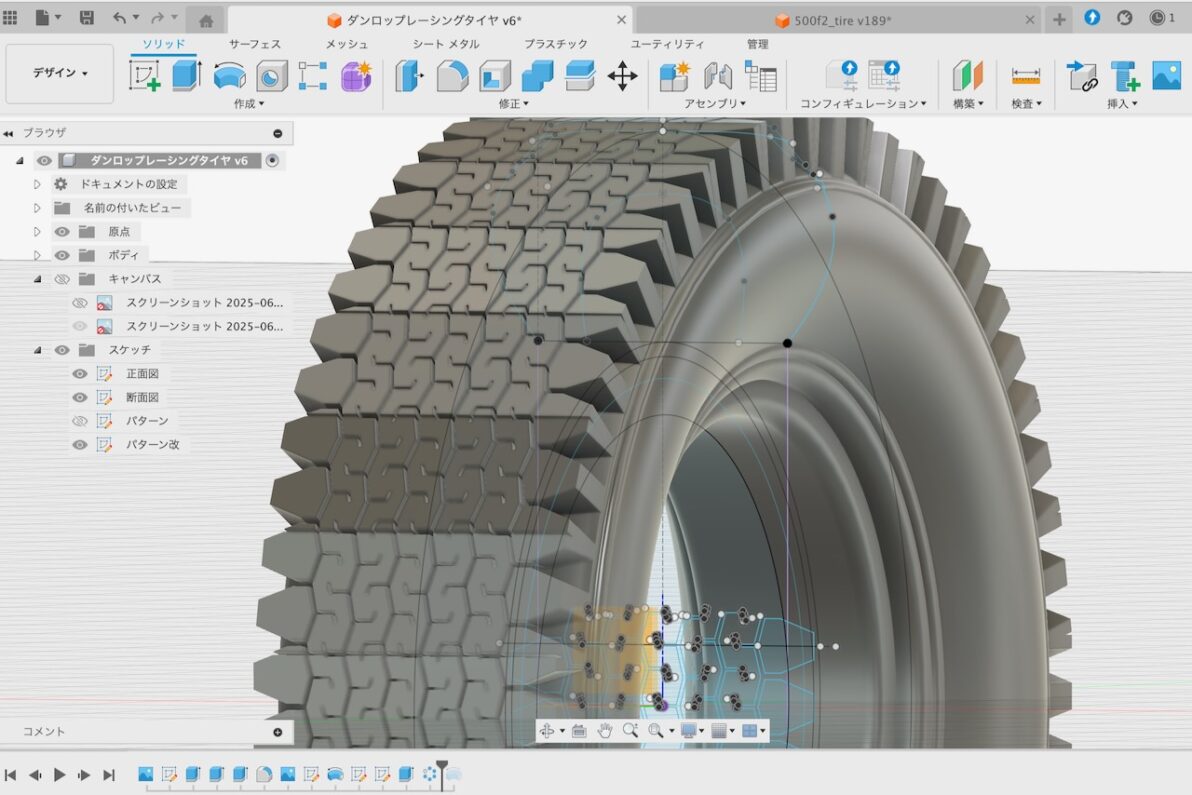
I began by drawing the basic cross-section and adjusted the sidewall bulge and shoulder angles while viewing the “revolved” 3D model.
最初に基本となる断面図を描き、「回転」で作ったものを見ながらサイドウォールの膨らみやショルダー部分の角度を調整します。
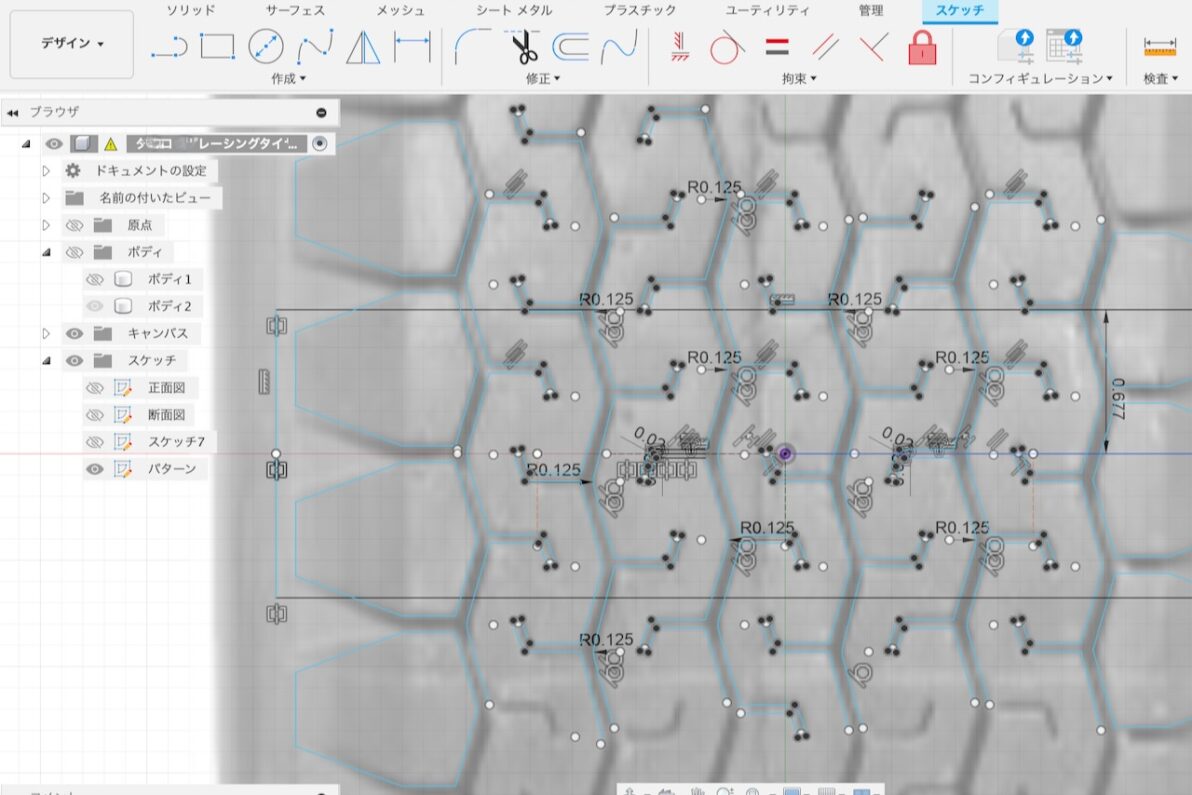
For the tread pattern, I imported an image of the actual tire as a reference, traced the outline, and created blocks using the “extrude” tool.
トレッドパターンは実物の画像を下絵に読み込み、輪郭をトレースして「押し出し」でブロックを作ります。
These features were then arranged 360 degrees using a “circular pattern.” Adjusting the number of patterns to get the perfect gap between blocks requires significant patience.
その「押し出し」フィーチャーを選択し、「円形状パターン」で360度ぐるっと配置します。パターンの数量を幾つにするかでブロック間の隙間が微妙に変わってくるので、この工程は根気勝負です。
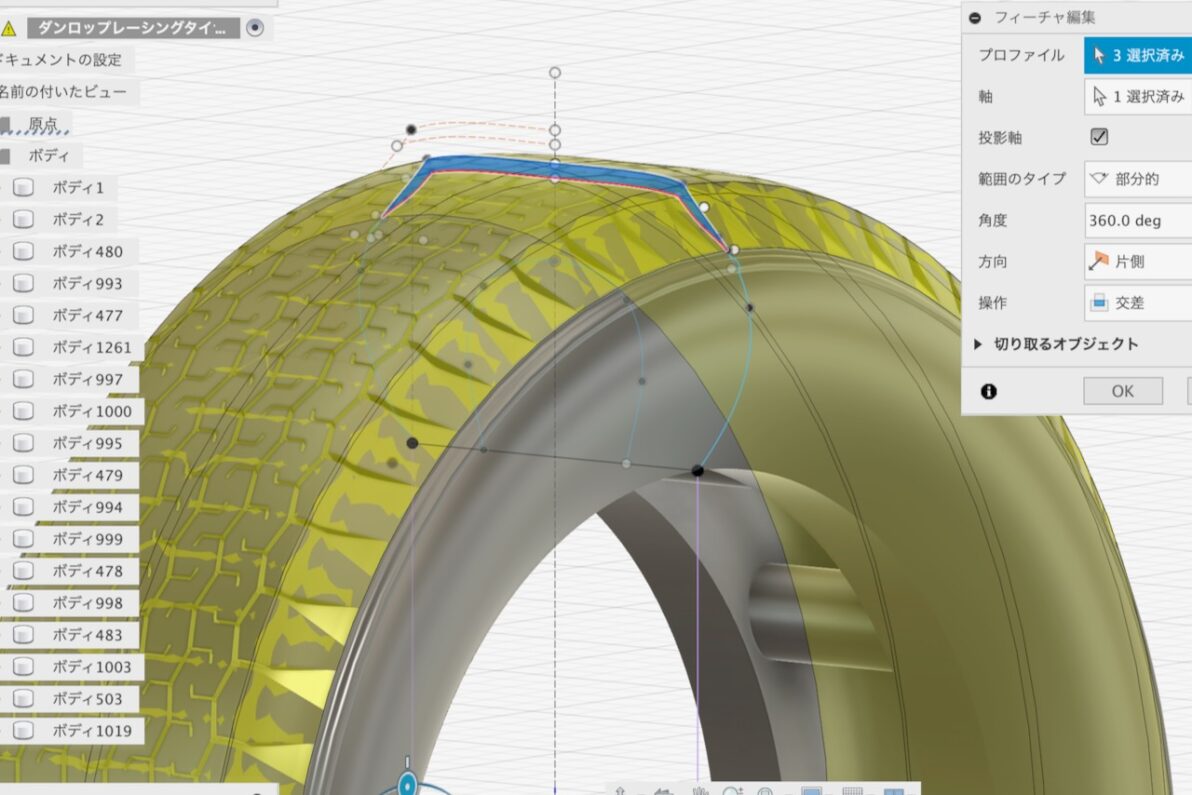
To shape the block surfaces, I selected the sketches from the cross-section and executed an “intersect” command via “revolve.” This step is prone to errors or software freezes, so frequent saving is essential.
ブロック表面の整形は、断面図に描いた図形を選択し、「回転」から「交差」で実行します。エラーやフリーズが出やすい箇所なので、事前に保存をかけておきましょう。
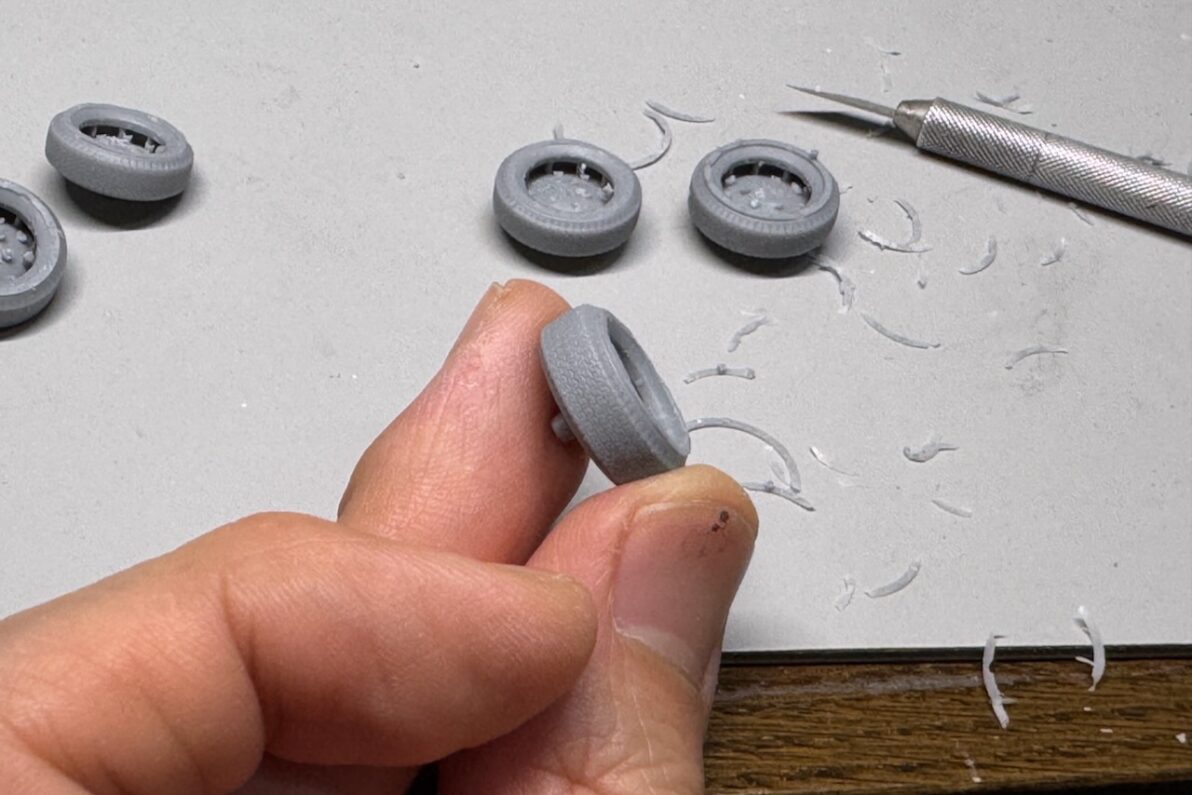
I printed the parts with added supports, allowances, and a rotation axis for further machining. I used SK Honpo’s “High-Performance Water-Washable Resin” and a “Hunter” DLP printer.
サポートや取りシロ、切削整形用の回転軸をつけてプリントします。使用しているレジンはSK本舗の「高性能水洗いレジン」、光造形プリンターは「Hunter」です。
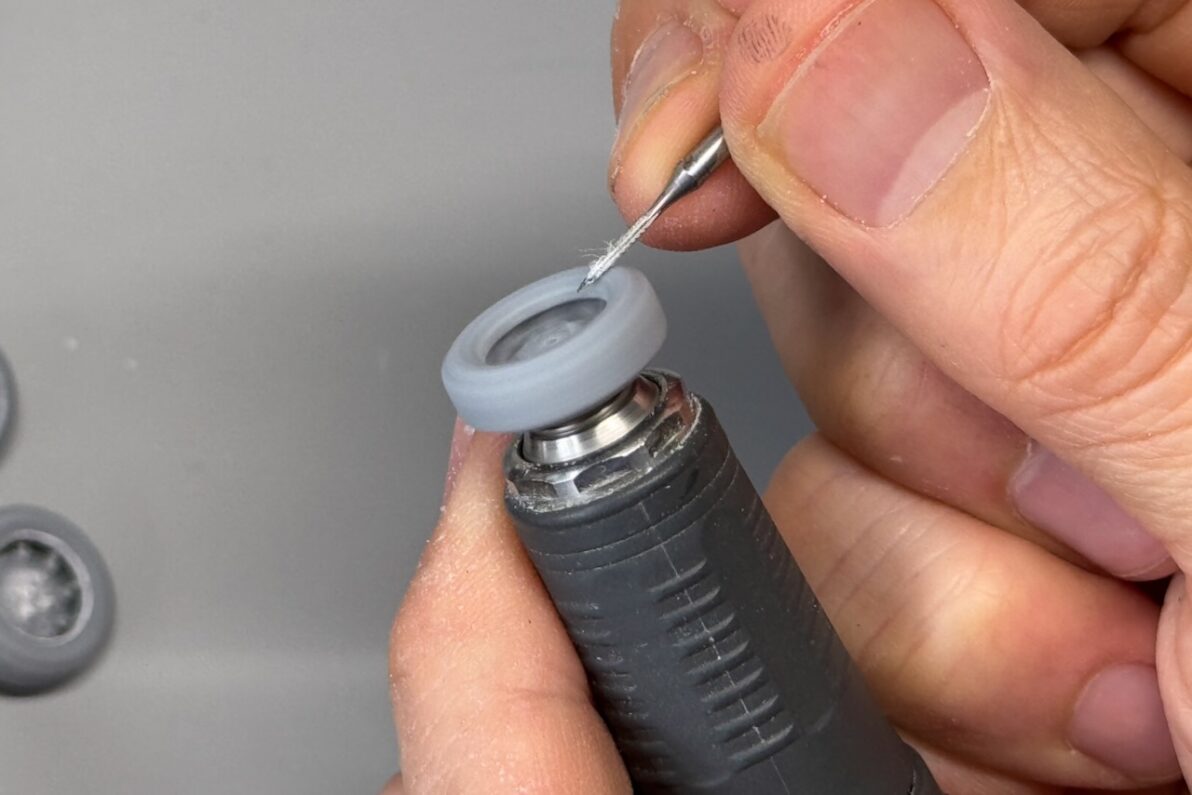
After printing, I put the axis shaft into a motor tool and then shaped the sidewall bulge with a cutting tool and a sandpaper while it was spinning.
切削用の回転軸をモーターツールに差し込み、回転させながら刃物を当て、サイドウォールの膨らみを整形します。ここはシャシー側に隠れて表からは見えませんが、車高の高いクルマの場合はきれいにしておいたほうがいいです。
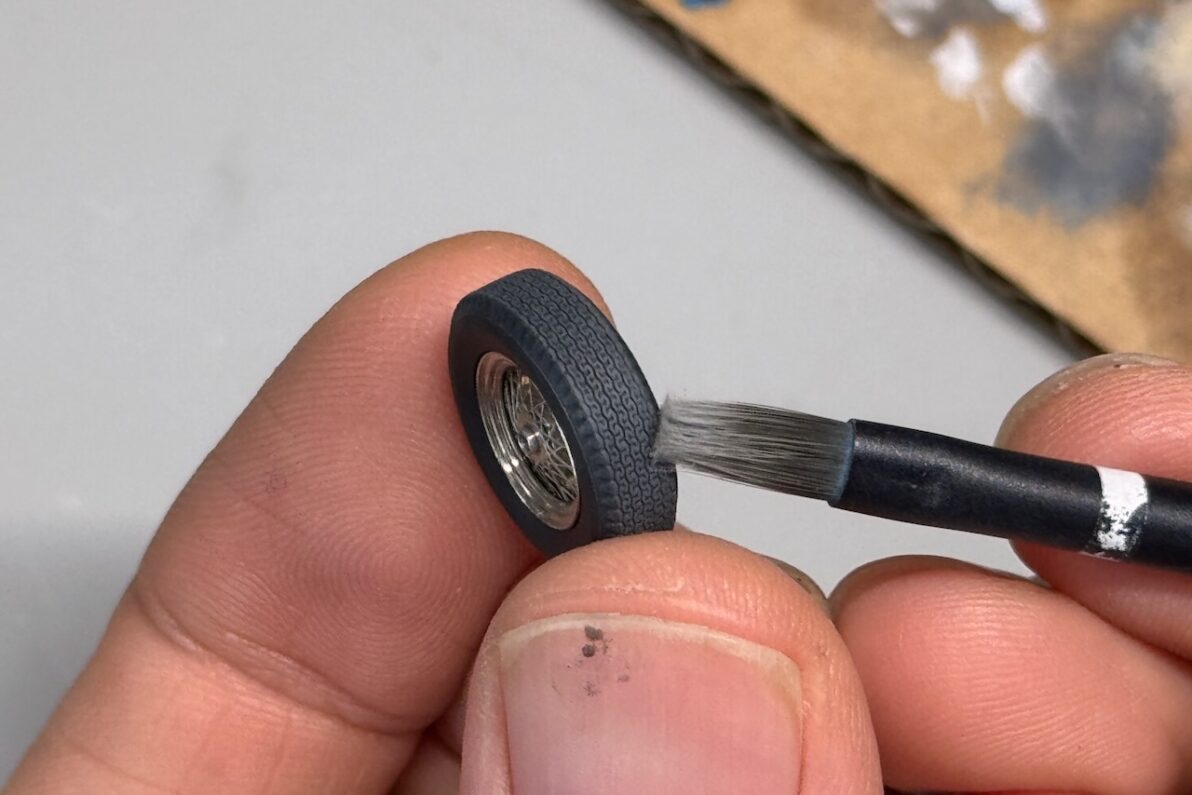
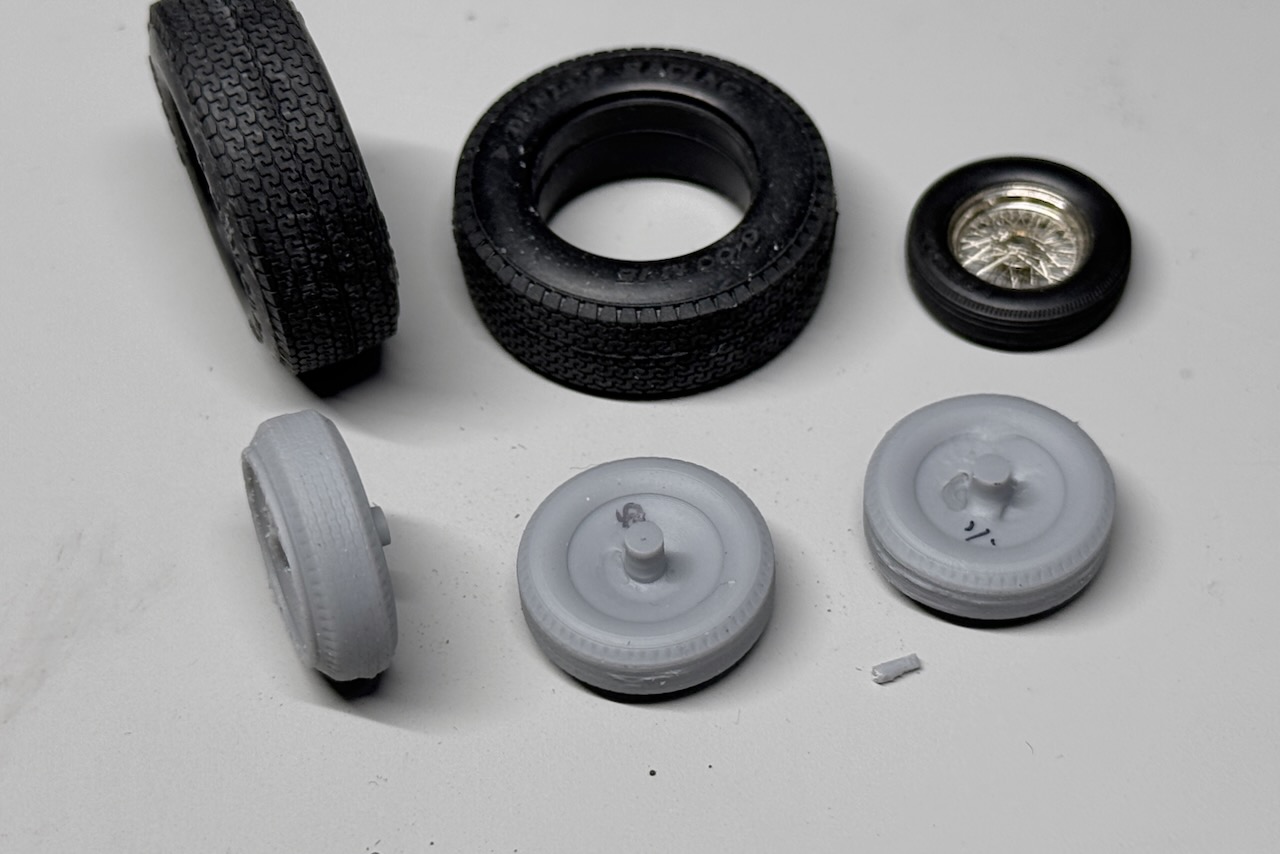
Finally, I trimmed the axis on a lathe and adjusted the inner diameter to fit the wheels. Regarding the black paint, I airbrushed a mix of semi-gloss black and German Grey with a slightly wet look, then applied a light grey oil paint via dry-brushing.
整形後に回転軸を旋盤で切り落とし、使うホイールサイズに合わせてタイヤの内径を調整。塗装は半艶の黒とジャーマングレーをエアブラシで艶っぽく吹き、乾燥後に油彩のライトグレーをドライブラシで仕上げました。
I’m currently sharing the STL data for these tires on my Google Drive. Please feel free to use it within the bounds of common sense.
今回作成したタイヤのSTLデータはGoogleドライブで共有中です。常識の範囲内で自由にお使いください。