Bosicaの356Speedster製作記-4
AK
God Dwells in Small Things

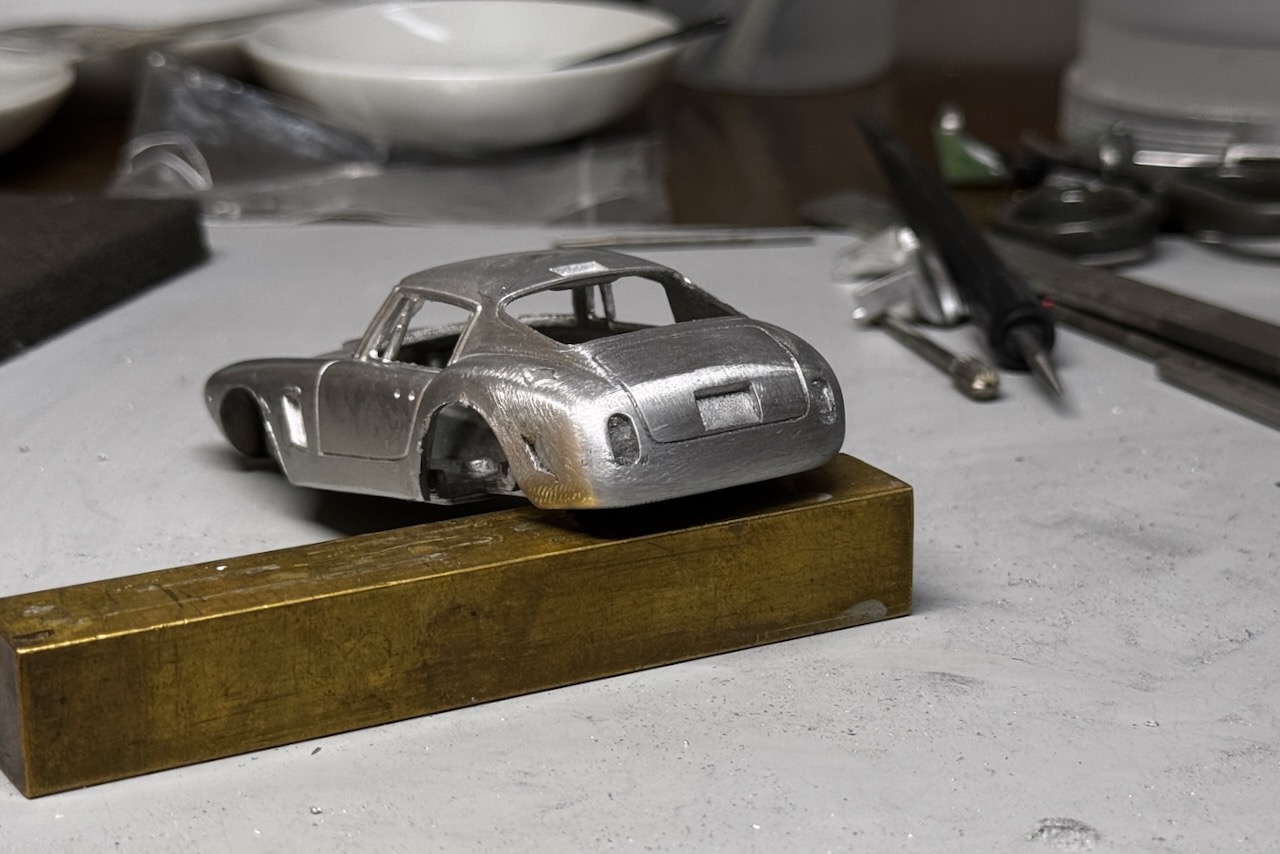
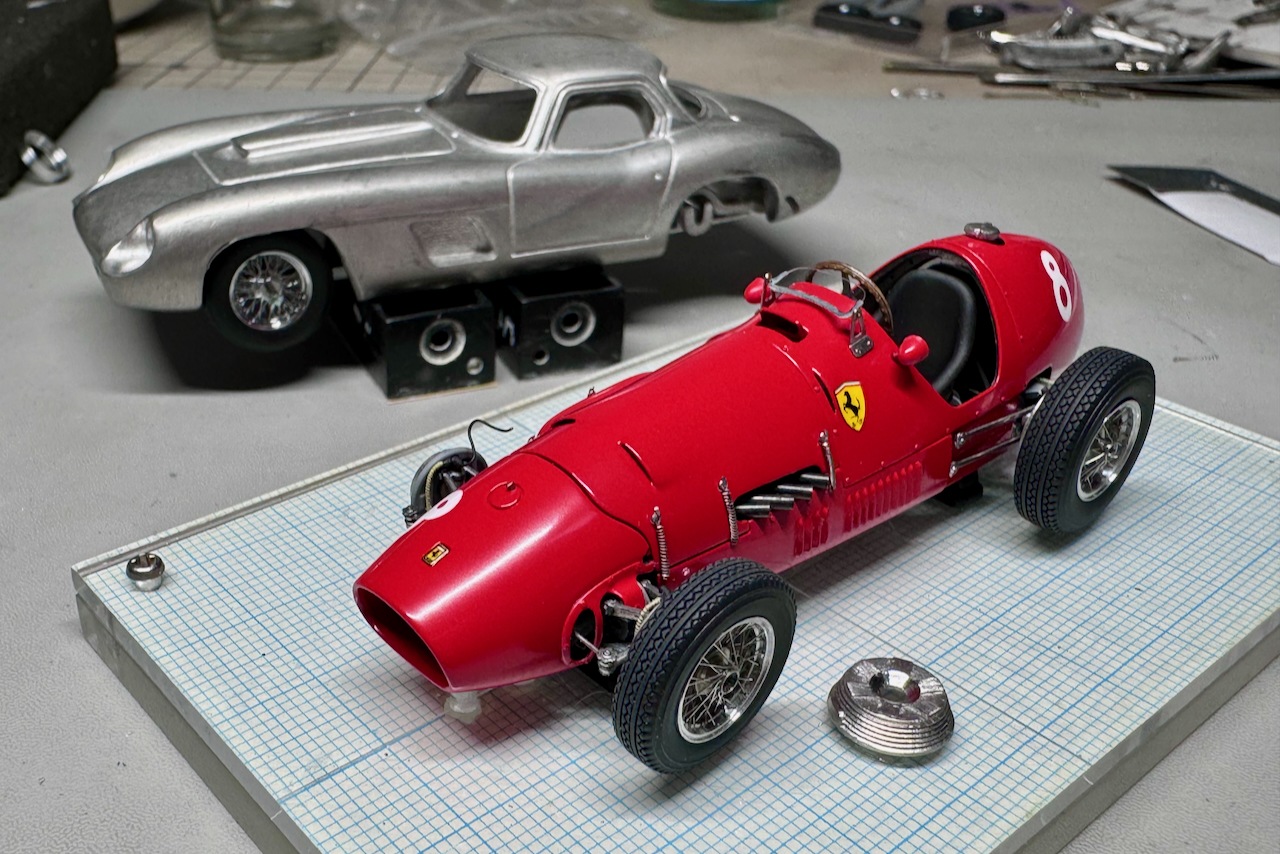
I made some modifications to the 250SWB body today. Looking at the rear, the height of the lower half of the tail seemed insufficient, so I extended it by building up melted white metal.
AMRのフェラーリ250SWBはタイヤの目処がついたところで、ボディの工作を進めていきましょう。まずは後方から眺めた時の印象でテールの下半分の高さが足りなく見えたので、溶かしたホワイトメタルを盛って延長します。
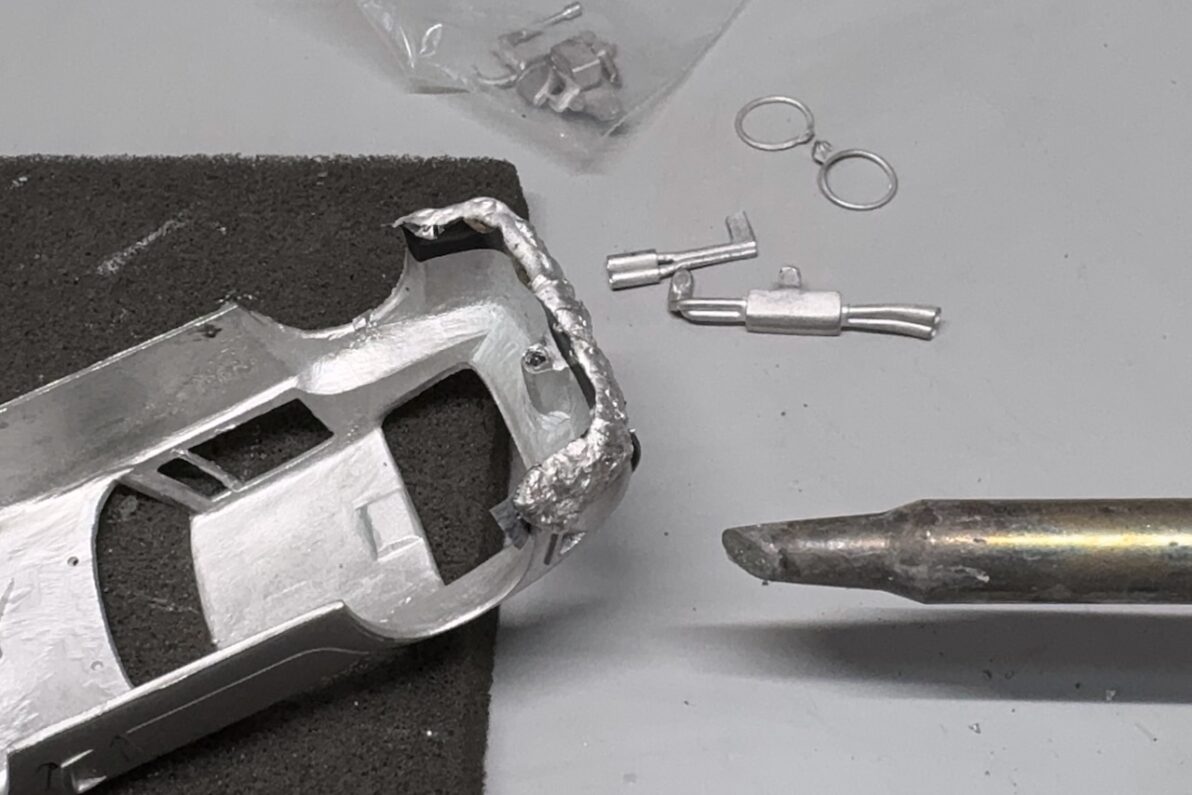
While using low-melting-point solder might have been easier, I use such a melted-metal parts to prevent shrinkage or sinking over time.
ここは融点の低いハンダを使えばもっと楽な気もしますが、経年変化で縮みやヒケが出ることが多いので、あえてボディと同じ材質のメタルを使うようにしています。
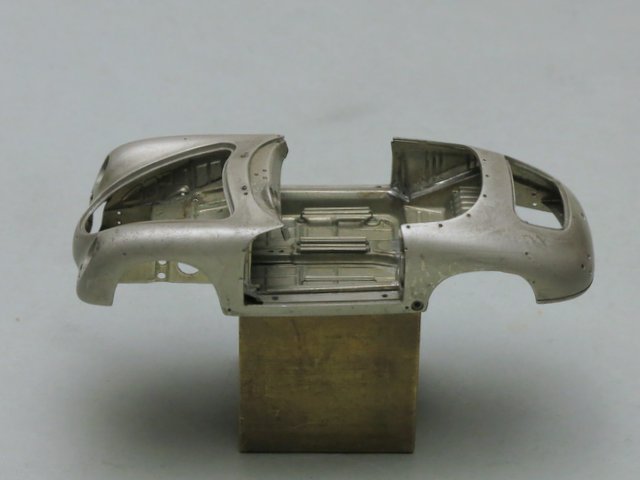
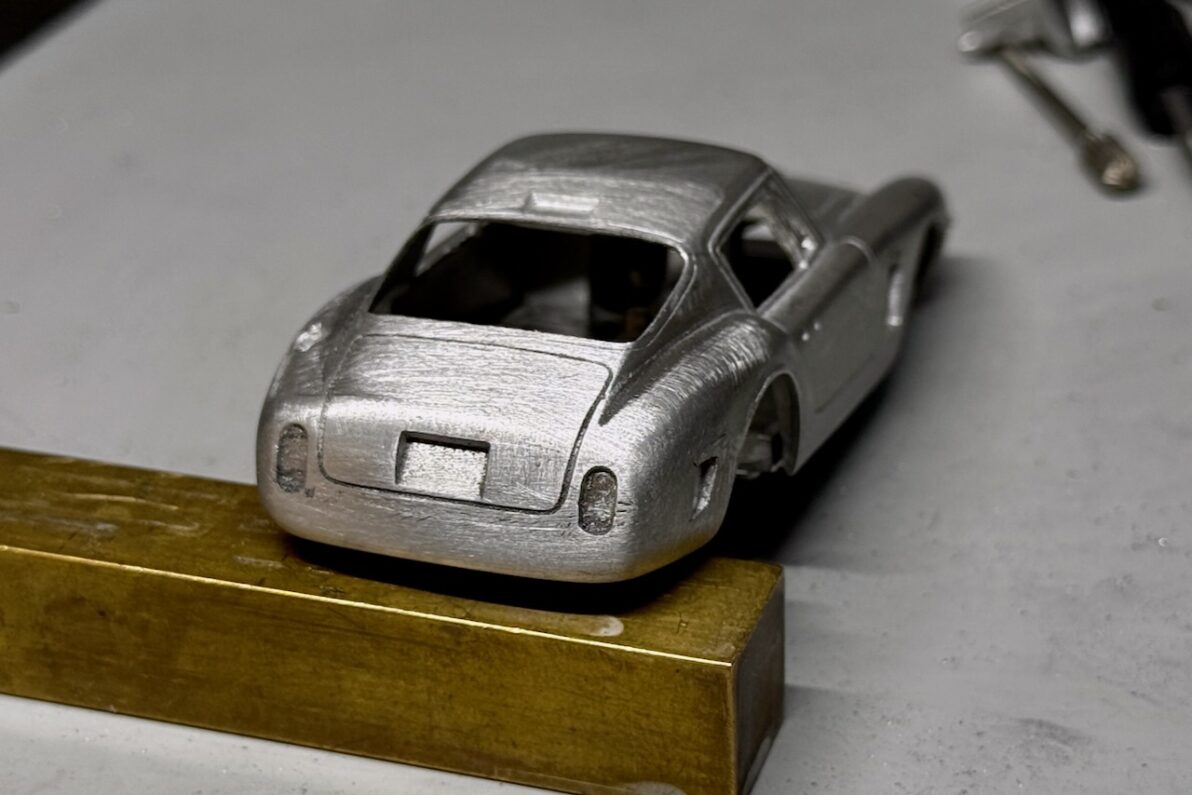
When carving the excess metal, I changed the rounded tail lines to a more angular profile.
余ったメタルを削って整形する際、キットの丸みのあるラインをやや角ばった感じに変更しました。
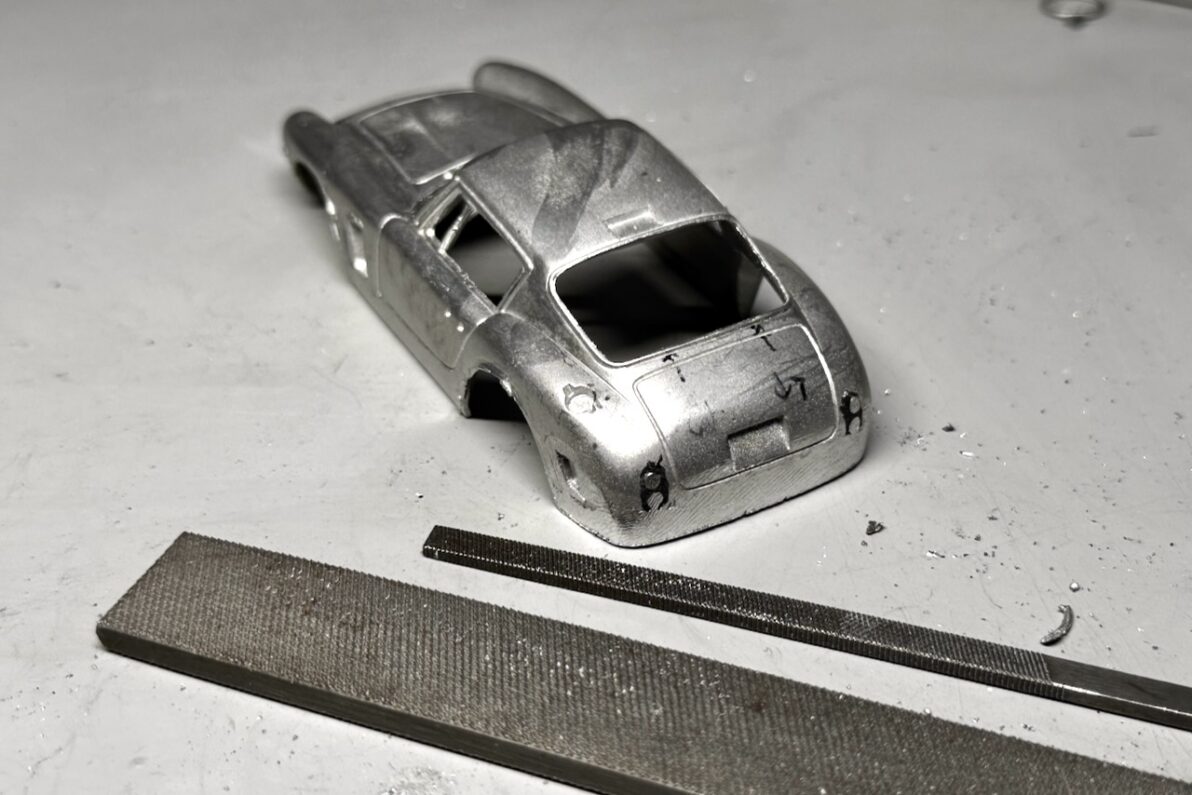
I first established the rough shape with a steel file, then used 240 to 320-grit sandpaper to blend the surfaces.
最初に鉄ヤスリで大まかなラインを出し、240-320番のサンドペーパーでそれぞれの面を繋げるように整形しています。
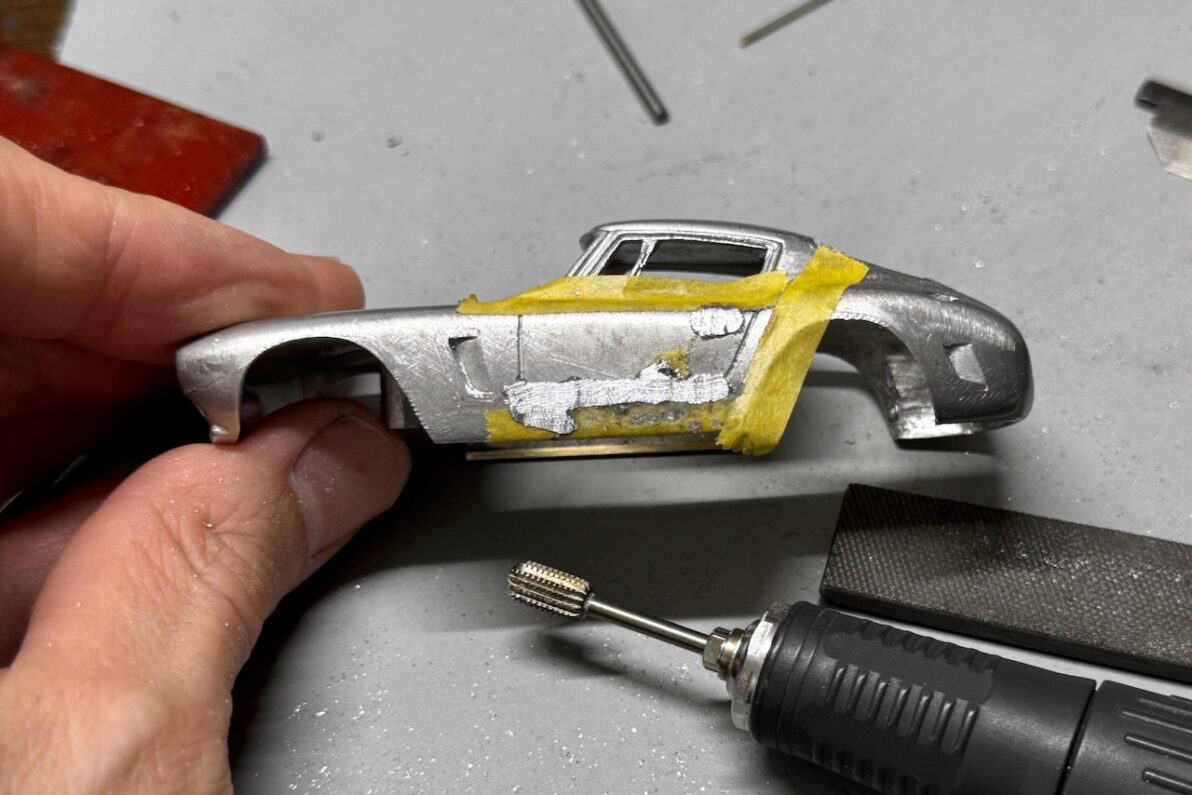
The door lines along the lower edge were quite irregular. I filled them with melted metal and re-engraved them using a chisel to achieve straight, clean lines.
ドア下辺の筋彫りは乱れが大きかったので、リアと同じくホワイトメタルで埋め、タガネで真っ直ぐなラインに彫り直しました。
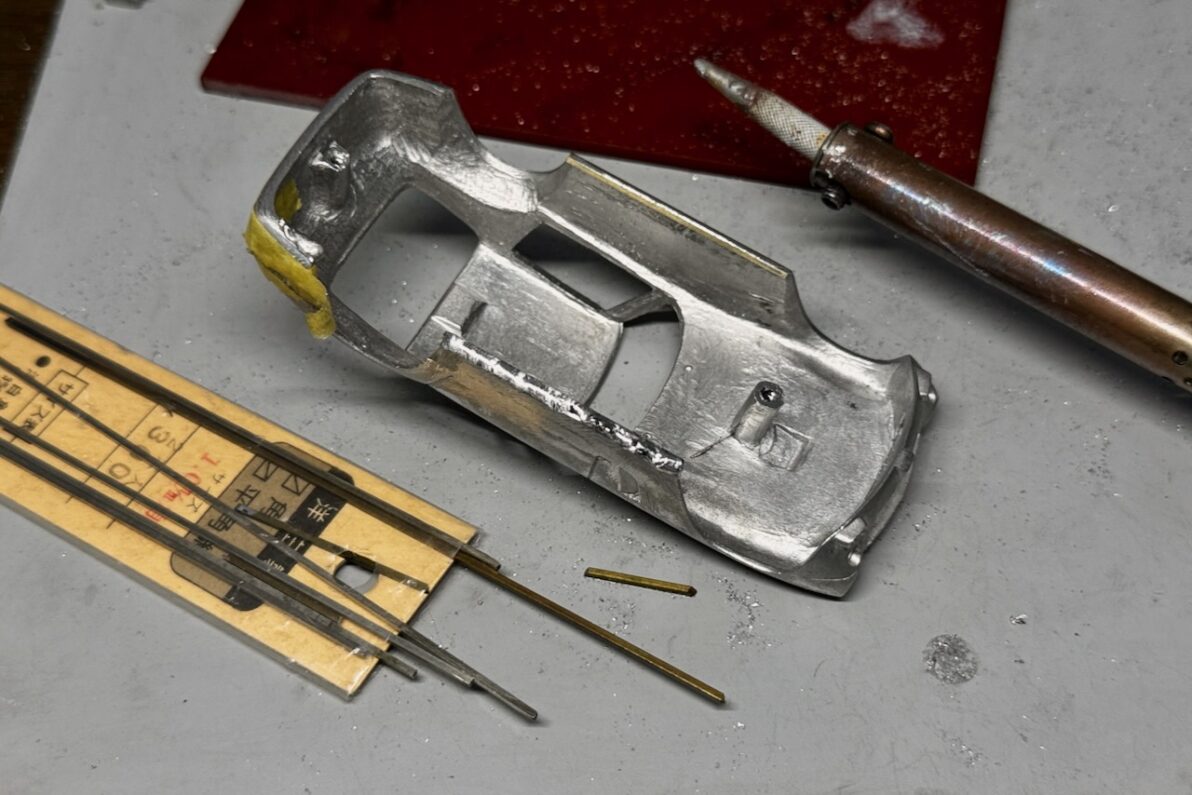
To enhance the “tucked-in” look of the side sills towards the chassis, I soldered 1mm square brass wires along the inner edges. Pre-coating the surface of the brass wire with a thin layer of solder make sure of bond to the body.
サイドシルの内側には1mm角の真鍮線を半田付けし、シャシー側への巻き込み感を強めておきます。最初に真鍮線側に半田を薄くコーティングしておくと固定が確実です。
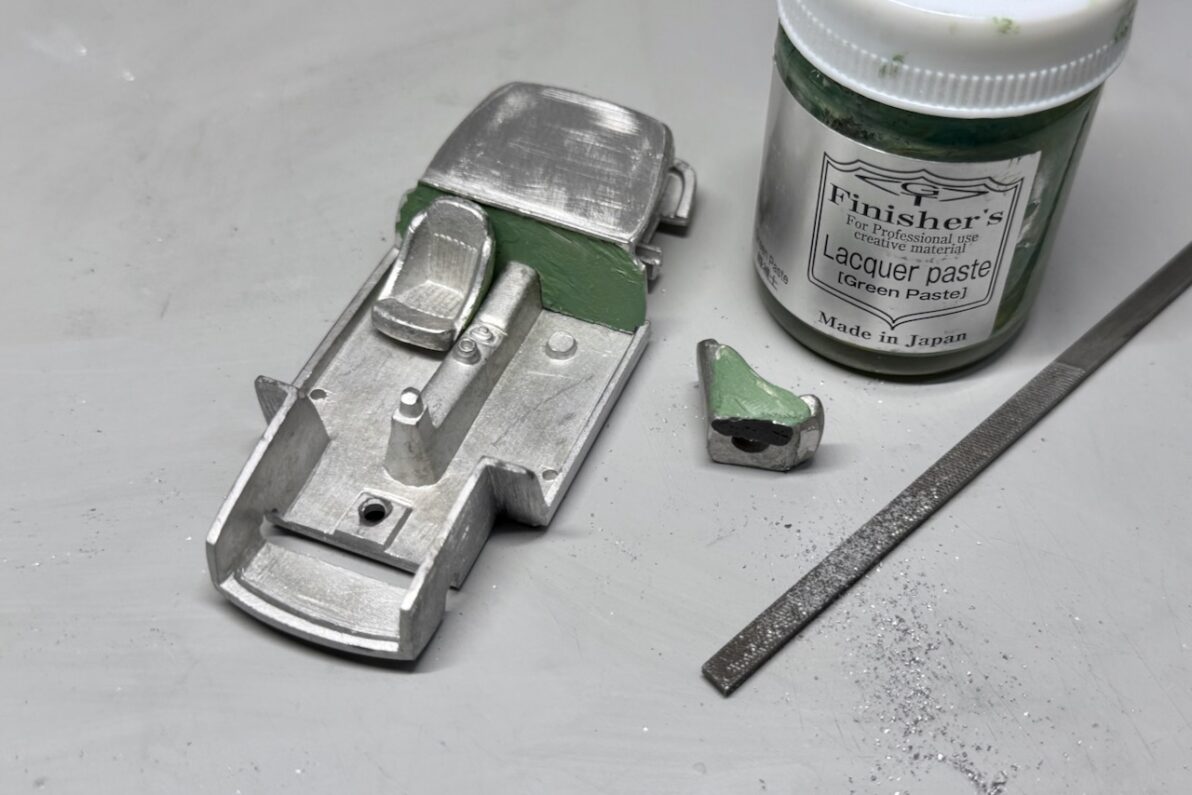
The chassis and seats had some flash and sink marks from the casting process. I roughly leveled the surfaces with a metal file, then filled the deep scratches with lacquer putty.
シャシーとシートは鋳造時のバリやヒケが目立ったので、金属やすりでザックリ削って面を出した後に、ラッカーパテで目立つ傷を埋めました。